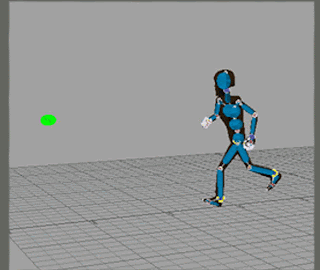
The first step taken was to add a physics solver to a scene, as well as apply a ragdoll to the control rig of the character mesh. Once the ragdoll is created, each piece can be scaled and translated to fit the mesh properly, making sure that none are intersecting (as this would cause collisions within the body and create vibrations and jittery data). Once updated, the ragdoll can then be saved out, and loaded back onto the rig for future studies.
There are additional options for the ragdoll, listed in the ragdoll properties in the navigator. In there, aspects such as density of each rigid body within the ragdoll can be altered; for instance, if you would want the character to fall head first after colliding with a flying object (or something to that extent), you would increase the density of the ragdoll's head piece.
Once the ragdoll is created and all attributes are specified, it can then be rendered either passive, active, or active upon collision. When passive, the ragdoll will not respond to the physics solver; when active, the ragdoll will be weighed down by the solver, whereas if the ragdoll is set to active upon collision, physics will not influence it until it makes contact with another rigid body.
When properly integrating a ragdoll simulation with an animation, it is a matter of keying the ragdoll as passive where animation takes precedence, and active when physics is to take over. From there, turn the physics solver online, make sure the 'live' option is checked, and physics will weigh down the ragdoll at the specified active key frame.
Additional handkey editing of any recorded ragdoll use will be necessary to finalize the animation.


